Disclosure: This post contains affiliate links. If you purchase something through these links, we may earn a commission at no extra cost to you. We only recommend products we genuinely use and love.
The First Decision Nobody Tells You About
This guide covers the three self-hosting platforms you will hear about constantly: Bare Metal, Docker, and Proxmox. Before you buy hardware, before you follow any install guide, before you spin up a single container — you need to make this decision. Everything else depends on it.
Most people skip this step. They Google “how to install Nextcloud” and follow the first tutorial they find, which was written for a completely different setup than theirs. Three hours later they have a broken install, no idea why, and a growing sense that self-hosting is too complicated.
It is not too complicated. You just started in the wrong place.
This article is the right place to start. It covers what each platform actually is, who it is for, what it costs you in complexity, and which one to choose based on your situation. Every install guide on this site connects back to this decision.
The Three Platforms — What They Actually Are
Bare Metal: One OS, One Machine, No Layers
Bare metal means installing a Linux distribution — Debian, Ubuntu Server, Raspberry Pi OS — directly onto your hardware, and running your applications on top of that OS. No hypervisor. No containers. Just the OS and your apps.
This is the simplest possible setup. It is also the most limited. Every app shares the same OS, the same filesystem, and the same network stack. There are no snapshots, no easy rollbacks, and no isolation between services. If one app breaks something at the system level, everything else on that machine is affected.
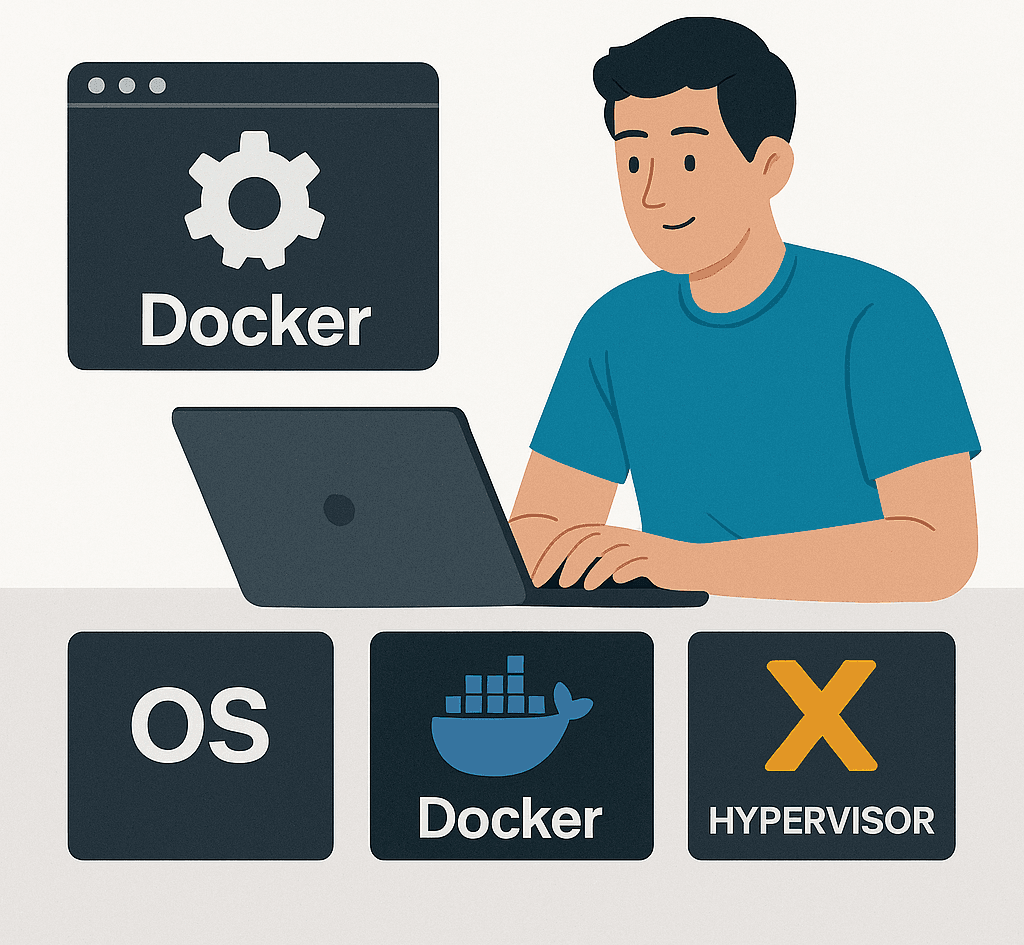
Docker: Isolated Apps on a Shared Host
Docker packages each application — and everything it needs to run — into a container. Containers share the host OS kernel but are isolated from each other. You can run Nextcloud, Vaultwarden, Jellyfin, and Paperless-ngx on the same machine, each in its own container, without them interfering with each other.
This is how the majority of self-hosted applications are distributed. When a developer releases a new version of their app, they publish a Docker image. You pull that image, start a container, and you are running the latest version. Updates are two commands. Rollbacks are one command.
Docker does not provide full isolation. Containers share the host kernel. A kernel-level vulnerability affects all containers on that host. For a home server running trusted images, this is an acceptable trade-off. For a machine exposed to the public internet running untrusted code, it is not.
Proxmox: Full Virtualization with ZFS, VMs, and LXC
Proxmox VE is a Type 1 hypervisor built on Debian Linux. It installs directly onto your hardware and lets you run multiple virtual machines (VMs) and lightweight containers (LXCs) from a single web interface. Each VM gets its own kernel. Each LXC gets its own userspace. Services are isolated at the hardware level.
Proxmox is the platform this entire site is built around. Every guide on SelfHostHero assumes you are running Proxmox, because it is the right choice for anyone running more than a handful of services on dedicated hardware.
The advantages over the other two platforms are substantial: native ZFS support for storage integrity and snapshots, built-in backup scheduling, IOMMU/PCIe passthrough for hardware like Zigbee dongles and SATA controllers, and a web UI that gives you full visibility into every VM and container on your node.
Platform Comparison: The Honest Table
| Feature | Bare Metal | Docker (on Linux) | Proxmox |
|---|---|---|---|
| Isolation between services | None | Process-level | Full (VM or LXC) |
| Snapshots and rollbacks | No | Limited (volumes only) | Yes — full VM/LXC snapshots |
| Native ZFS support | Manual setup required | Manual setup required | Built-in, GUI-managed |
| Hardware passthrough (USB, PCIe) | Direct access | Possible but manual | GUI-managed via IOMMU |
| Backup scheduling | Manual scripts | Manual scripts | Built-in scheduler |
| Resource overhead | Lowest | Very low (daemon ~200MB) | Medium (hypervisor layer ~1GB) |
| Minimum RAM (realistic) | 512MB | Depends on containers — can run Pi-hole in 50MB | 2GB absolute minimum, 8GB for a real homelab |
| Learning curve | Low | Medium | High |
| App ecosystem | Manual installs | Docker Hub, millions of images | Docker inside LXC + VMs |
| Right for homelab | Single-purpose devices only | Good starting point | Best long-term choice |
Which Platform Matches Your Situation?
Scenario 1: One Device, One App
You have a Raspberry Pi and you want to run Pi-hole. Or an old laptop that will run only Home Assistant. You are not planning to add more services to this machine.
→ Go Bare Metal. The simplicity is the point. No containers, no hypervisor, no overhead. Install the OS, install the app, done.
Scenario 2: Multiple Apps, Entry-Level Hardware
You have a mini PC, an old desktop, or a low-end NAS with 4 to 8GB of RAM. You want to run Nextcloud, Vaultwarden, and maybe Jellyfin. You are not ready for a full hypervisor.
→ Start with Docker on a clean Debian install. You get app isolation, easy updates, and access to the entire Docker Hub ecosystem. When you outgrow this setup — and you will — migrating to Proxmox is straightforward because your apps are already containerized.
Scenario 3: Dedicated Homelab Hardware, Multiple Services
You have a NAS, a mini PC, or a purpose-built server with 8GB of RAM or more. You plan to run Home Assistant, Nextcloud, Jellyfin, Paperless-ngx, and a handful of other services. You want snapshots, backups, and proper storage management.
→ Install Proxmox. This is the setup this entire site documents. Every guide on SelfHostHero starts from a running Proxmox node.
If you are evaluating hardware for a Proxmox build, our review of the TerraMaster F4-424 Pro as a Proxmox host covers a purpose-built machine that handles this workload well at 7.7 watts idle.
The Honest Trade-offs Nobody Tells You
Proxmox Has Real Overhead — But Less Than You Might Think
Proxmox officially requires a minimum of 2GB of RAM to install and run. The hypervisor itself uses around 1GB at idle. The real question is not whether Proxmox fits on your hardware — it is whether you have enough RAM left for the services you want to run on top of it.
A typical homelab setup with four or five LXC containers running Docker services will use 6 to 10GB of RAM at idle. On a machine with 16GB, this is comfortable. On a machine with 8GB, it works but leaves little headroom. On a machine with 4GB, you can run Proxmox with one or two light LXC containers, but you will hit the ceiling quickly if you try to run Nextcloud, Immich, and Jellyfin simultaneously.
Docker on Bare Metal is a Valid Long-Term Choice
Not everyone needs Proxmox. If you are running a single machine with 10 to 15 Docker containers and you have no need for VMs, hardware passthrough, or ZFS snapshots, Docker on a clean Debian install is a perfectly stable and maintainable setup. Thousands of people run exactly this configuration in production.
The reason this site focuses on Proxmox is that it scales. When you want to add a TrueNAS VM for your drive bays, or pass a Zigbee dongle directly to your Home Assistant VM, or take a snapshot before a major upgrade, Proxmox handles all of it from a single web interface.
LXC is Not a VM
Proxmox supports both full virtual machines (VMs) and lightweight containers (LXC). They are not the same thing. A VM has its own kernel — it is completely isolated from the host and from other VMs. An LXC shares the Proxmox host kernel but isolates its userspace.
For running Docker, LXC is the right choice. Lower overhead, direct access to ZFS datasets via bind mounts, and near-native performance. For running Windows, TrueNAS, or any OS that needs its own kernel, use a VM.
chown -R 100000:100000 from the Proxmox host) in our Homepage Dashboard guide.Common Mistakes by Platform
| Platform | Most Common Mistake | How to Avoid It |
|---|---|---|
| Bare Metal | Starting with bare metal and then trying to migrate to Docker without breaking everything | Start with Docker from day one if you plan to run more than one app |
| Docker | Using localhost in container URLs instead of the host’s LAN IP | Always use the host machine’s actual IP address when configuring inter-container communication |
| Proxmox | Installing Proxmox on a spinning HDD, or running a full homelab on less than 8GB RAM | SSD or NVMe only for the Proxmox system disk. 8GB RAM for any real multi-service setup, 16GB recommended |
| Proxmox + Docker | Running Docker directly on the Proxmox host instead of inside an LXC or VM | Always run Docker inside a dedicated LXC container (recommended) or a VM (stricter isolation), never on the Proxmox host itself |
| All platforms | Using DHCP for a server that other services need to reach by IP address | Set a static IP or a DHCP reservation in your router for every server on your network |
The SelfHostHero Architecture: What This Site Builds
Every guide on this site assumes the following setup:
- A dedicated machine running Proxmox VE as the hypervisor
- One or more ZFS storage pools managed by Proxmox — NVMe for databases and app data, HDD or NAS for media and bulk storage
- An unprivileged Ubuntu LXC container running Docker and Portainer, with ZFS datasets bind-mounted for storage
- A Home Assistant OS VM for smart home automation, isolated from the Docker stack
- Individual services deployed as Docker Compose stacks via Portainer
This architecture gives you the app ecosystem of Docker, the storage integrity of ZFS, the isolation of a hypervisor, and the management convenience of a web UI — all on a single machine that idles at under 15 watts.
The guides that build this stack, in order:
- Build Your Privacy Machine Room: Docker + Portainer on Proxmox LXC — the foundation layer
- Ultra-Efficient DIY NAS on Proxmox: Native ZFS + Ubuntu LXC FileServer — the storage layer
- Install Home Assistant OS on Proxmox VM — the smart home layer
- Nextcloud on Docker + Proxmox — replace Google Drive
- Immich on Proxmox with ZFS and Docker — replace Google Photos
- Jellyfin on Proxmox with Intel QuickSync — replace Netflix
- Paperless-ngx on Portainer — replace cloud document scanning
Frequently Asked Questions
Can I run Docker directly on the Proxmox host?
Technically yes, practically no. Proxmox is built on Debian, so the Docker daemon will install and run. But you lose the main reason you installed Proxmox in the first place: isolation. A misbehaving container can now affect your hypervisor, your other VMs, and your storage layer. Always run Docker inside a dedicated LXC container or a VM — never on the Proxmox host itself.
Do I need ZFS for Proxmox?
No, but you probably want it. Proxmox supports ext4, XFS, LVM, and BTRFS alongside ZFS. ZFS adds checksums, snapshots, compression, and easy pool management. For a homelab where data integrity matters — family photos, documents, paperwork — ZFS is the right choice. If you are running a single SSD and just need Proxmox to boot, ext4 works fine.
What is the minimum hardware for Proxmox in 2026?
Officially: a 64-bit CPU with virtualization extensions (VT-x or AMD-V), 2GB of RAM, and an SSD. Realistically, for anything beyond testing, you want 8GB of RAM, 250GB of SSD storage for the system disk, and separate drives for your data pools. Do not run Proxmox on a Raspberry Pi — it requires an x86_64 CPU.
Should I choose Docker in a VM or Docker in an LXC?
LXC is lighter, faster, and has direct access to host ZFS datasets via bind mounts — ideal for most homelab workloads. A VM gives you full kernel isolation and is the right choice if you are running untrusted code or want maximum security. For a home setup with trusted containers, LXC wins on every practical metric.
Can I migrate from Docker on bare metal to Proxmox later?
Yes, and this is why Docker is a good starting point. Your Docker Compose files and volume data are portable. You install Proxmox on new (or wiped) hardware, create an LXC, install Docker inside it, copy over your compose files and volumes, and you are back up. Allow a weekend for the migration.
Conclusion: Make the Decision Once, Build on It Forever
The platform decision is not reversible without effort. Migrating from bare metal to Docker is manageable. Migrating from Docker to Proxmox takes a weekend. Make the right choice now based on your actual hardware and your actual goals, and you will not have to redo this work later.
The short version:
- Single device, single app → Bare Metal
- Multiple apps, limited hardware → Docker on Debian
- Dedicated homelab hardware, serious about self-hosting → Proxmox
If you already have Proxmox running, or you are ready to install it, the next step is building the Docker and Portainer layer that every application guide on this site depends on.