In Part 1 of this series, we proved that the €37 AVATTO HA 70 is a surprisingly capable little Home Assistant server. But a server without devices is just a plastic box sitting in your closet. Today, we are going to turn it into a fully local, cloud-free smart budget zigbee hub.
Our goal? To automate a single room using dirt-cheap AliExpress Zigbee sensors, bypassing the proprietary Chinese cloud completely by utilizing Home Assistant’s built-in ZHA (Zigbee Home Automation) integration.
(Standard SelfHostHero disclosure: I bought every single item in this review with my own money. No sponsorships, no hidden agendas. If a product is poorly made or unsafe, I will tell you.)
The Coordinator: Sonoff ZBDongle-E
Price paid: €15.09
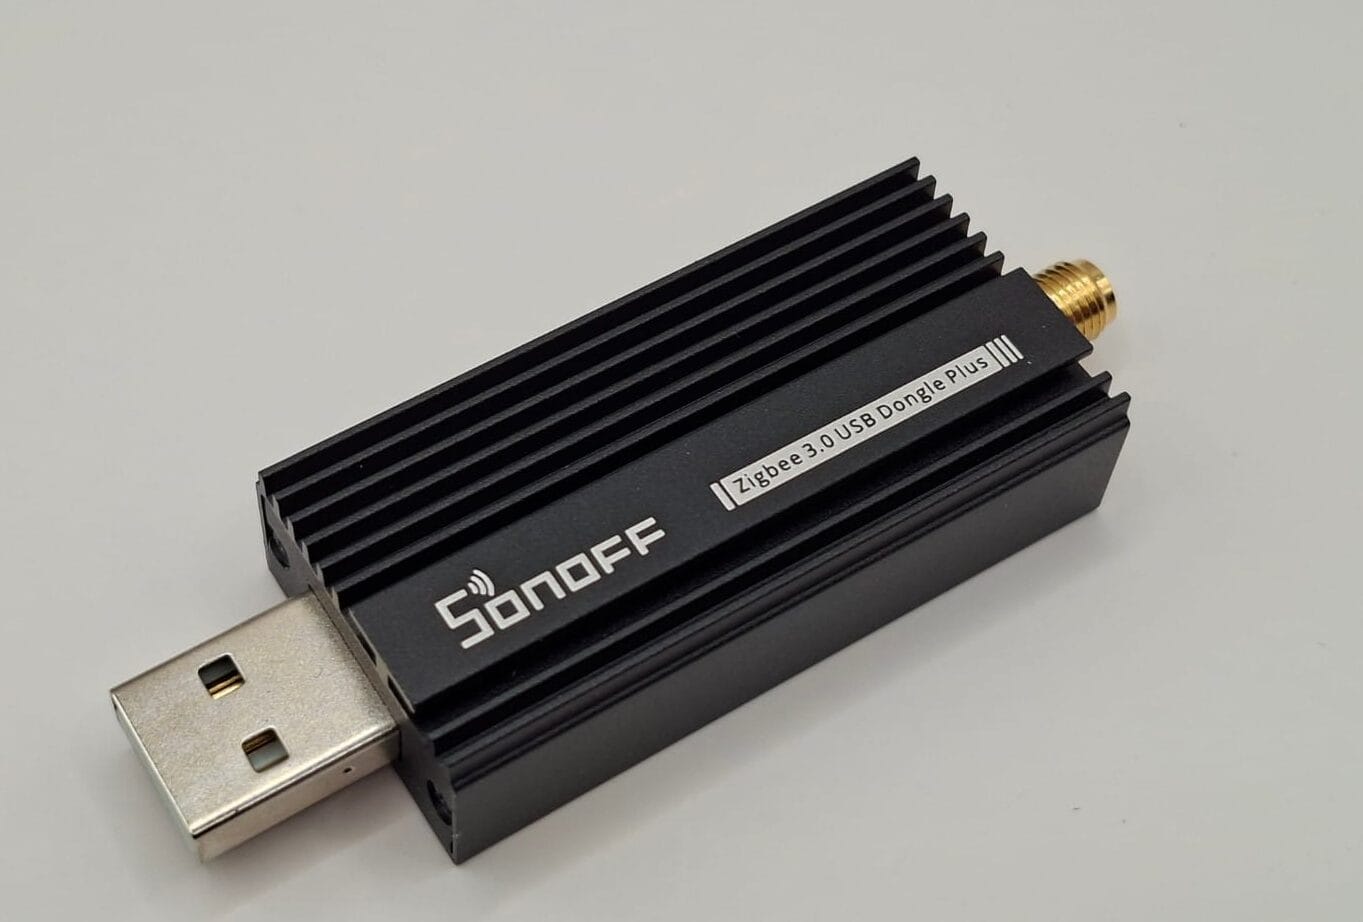
To talk to Zigbee devices, our HA 70 needs an antenna (a coordinator). I ordered the highly regarded Sonoff ZBDongle-E.
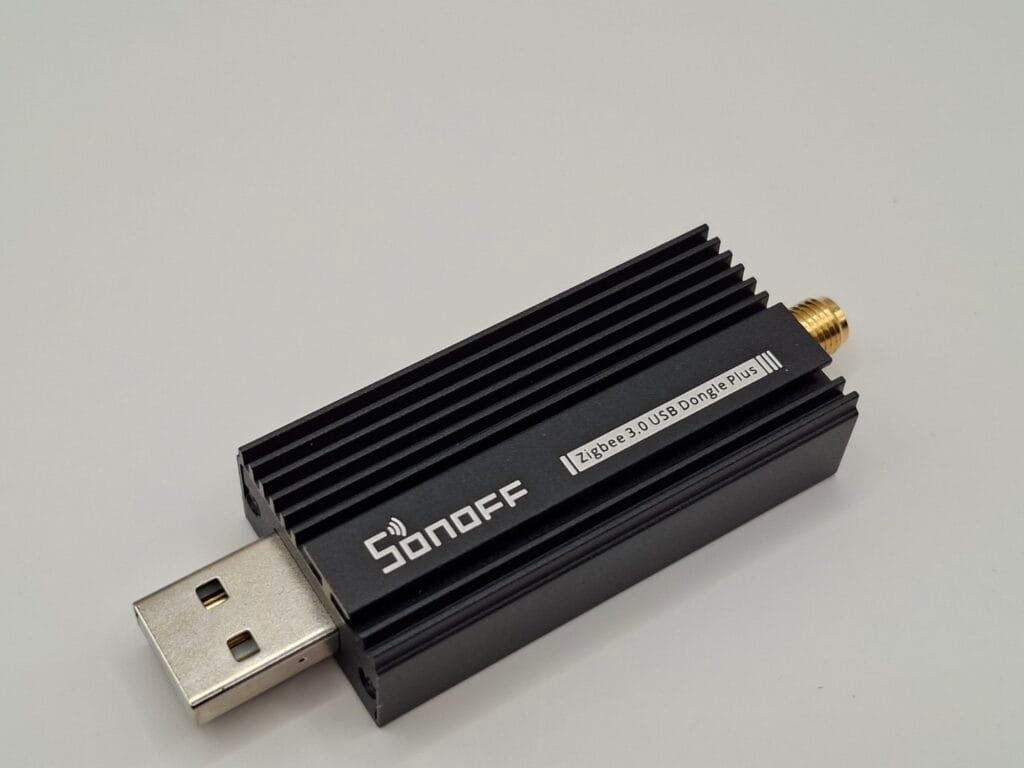
It arrives in a cheap-looking green cardboard box, but the device itself is built like a tank. It features a heavy, solid metal casing with tiny built-in cooling fins. It measures 52mm long (75mm with the antenna attached) and weighs 24 grams. The included 107mm bendable antenna feels decent, though if you shake it, you can hear the internal wire rattling around loosely inside the plastic.
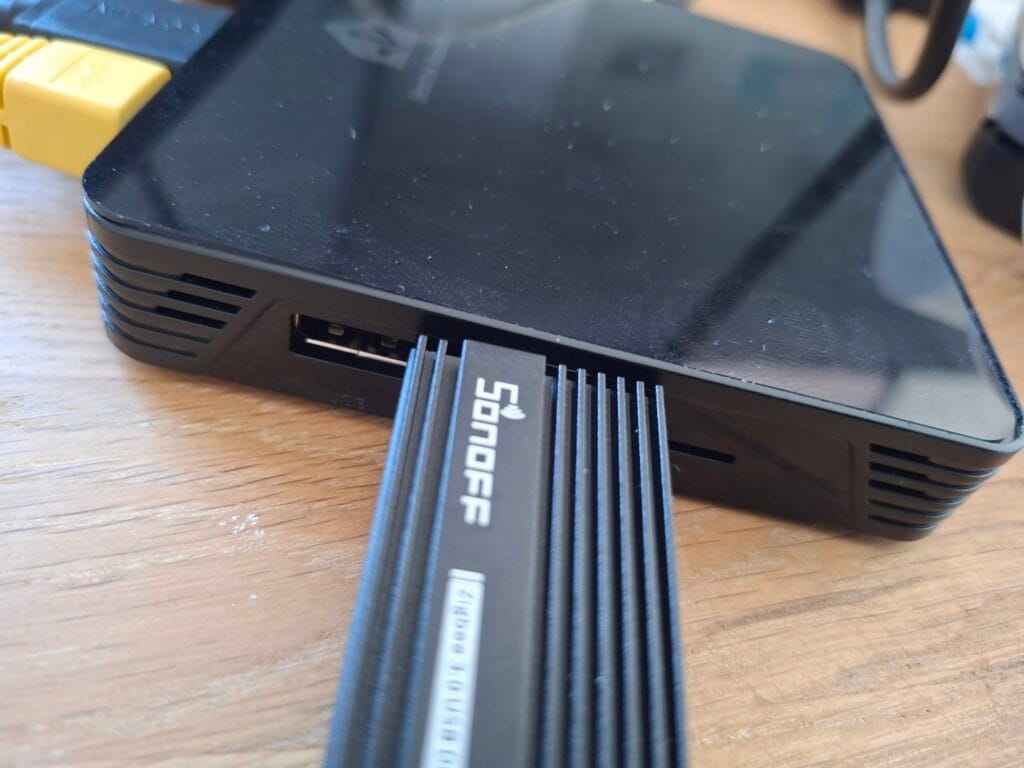
Crucial Hardware Warning: When I plugged the dongle directly into the HA 70, its thick metal casing completely blocked the adjacent USB port. Furthermore, plugging a Zigbee antenna directly into a USB 3.0 port is a known cause of heavy wireless interference. Always use a cheap USB extension cable to distance the dongle from your server.
The Trigger: Tuya Zigbee Door & Window Sensor
Price paid: €2.79
Let’s start with the absolute basics: detecting when a door opens.
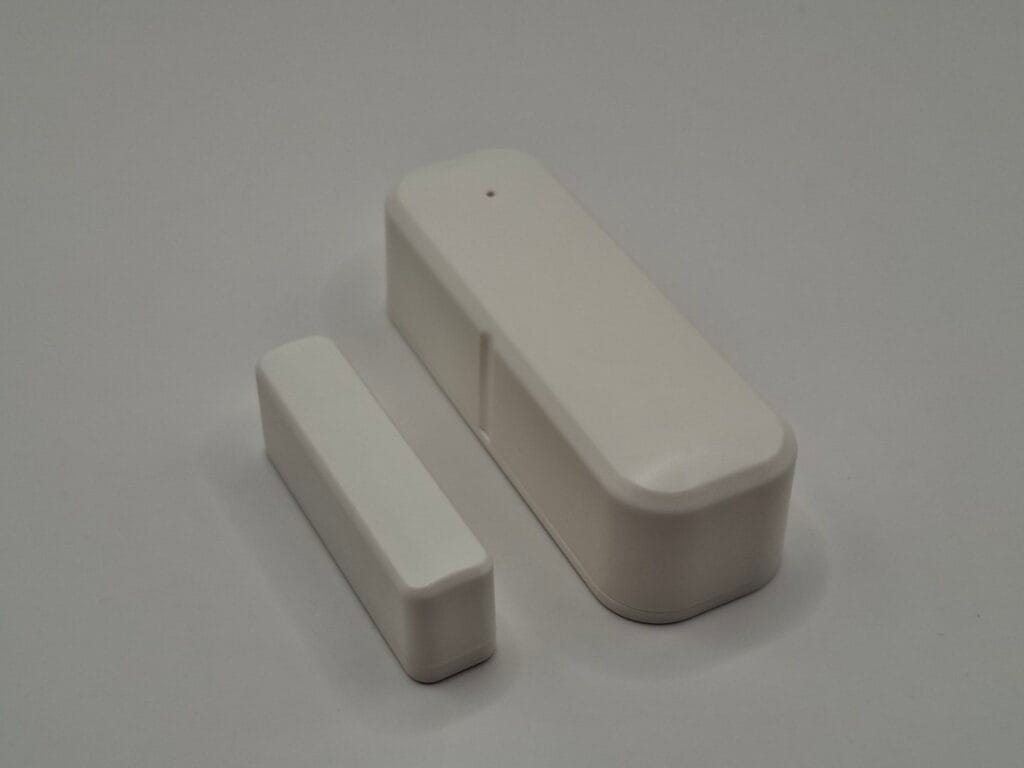
For less than three euros, expectations were low, and the packaging reflects that—it’s a flimsy cardboard box that barely holds the contents together. The white plastic housing of the sensor and the magnet feels extremely cheap and hollow, but for this price, I really don’t mind.
Practical Tip: It does not come with the required two AAA batteries. I inserted two standard Amazon Basics alkaline batteries. In my experience with ultra-budget sensors, rechargeable batteries often cause issues because their voltage is slightly lower (1.2V vs 1.5V) and they are physically slightly thicker, which can warp cheap plastic housings. The alkaline batteries fit perfectly.
Pairing it with Home Assistant: The process is completely plug-and-play.
- In Home Assistant, navigate to Settings -> Devices & Services -> Zigbee Home Automation.
- Click Add Device.
- While Home Assistant is searching, use the included metal pin to hold the reset button inside the sensor’s pinhole.
- Within seconds, the device pops up.
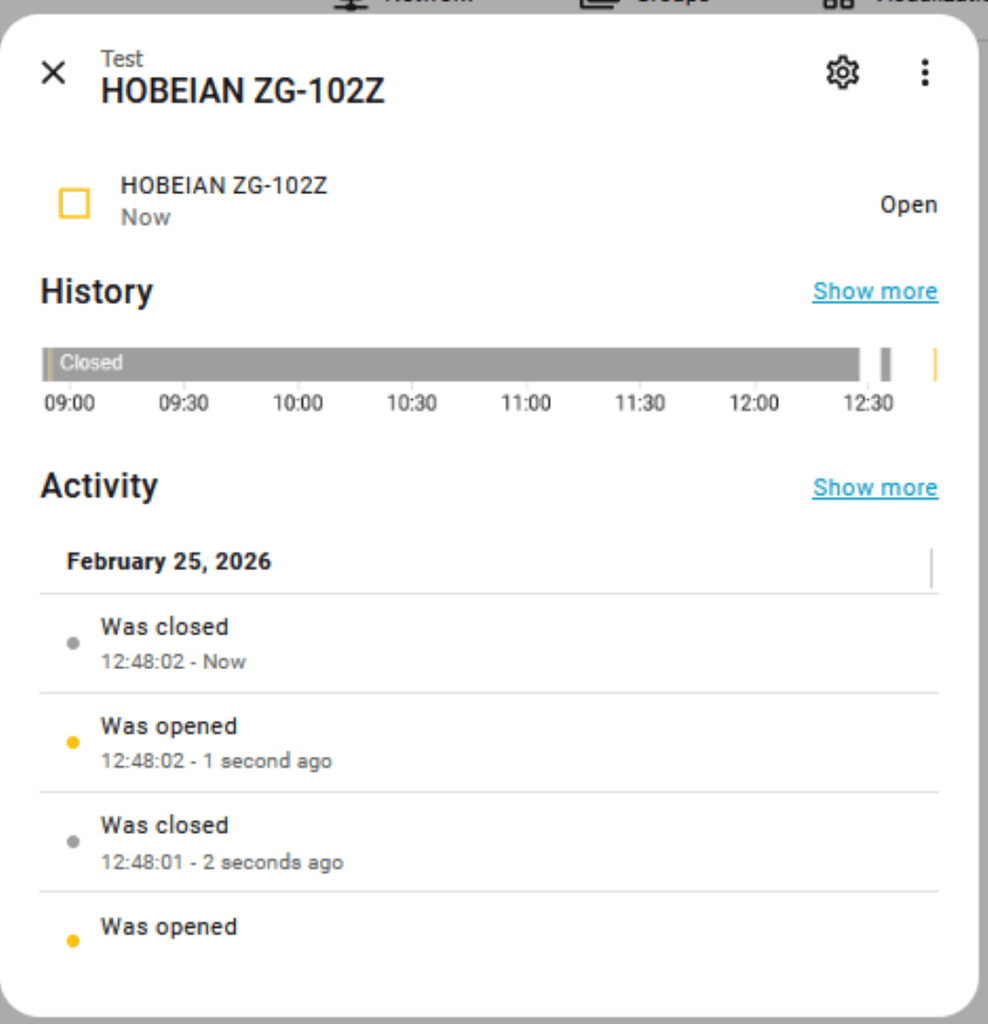
I tested it at my desk by moving the magnet away from the sensor. It registered instantly. After a quick wipe down of my door frame to give the included tape a fair chance, I mounted it. It works flawlessly.
The Action: TNCE TUYA 16A Smart Plug
Price paid: €4.26
If you want to turn on a lamp or heater automatically, you need a smart plug. Because this device plugs directly into mains power, it also acts as a “Zigbee Router,” repeating the wireless signal to improve the mesh network for your battery-powered sensors.
The plug weighs a reassuring 71 grams and measures 64mm in length (84mm including the pins). It feels sturdy, though the physical on/off button makes a rather cheap clicking sound.
Major Safety Flaw: The female side of the plug features plastic child-protection shutters. I tested these, and they failed completely. I was able to push the shutter aside with a single pointy object. Proper safety shutters should only open when two pins are inserted simultaneously. Be extremely careful if you have small children. I have a healthy distrust of cheap Chinese products switching mains voltage, and this physical flaw confirms why.
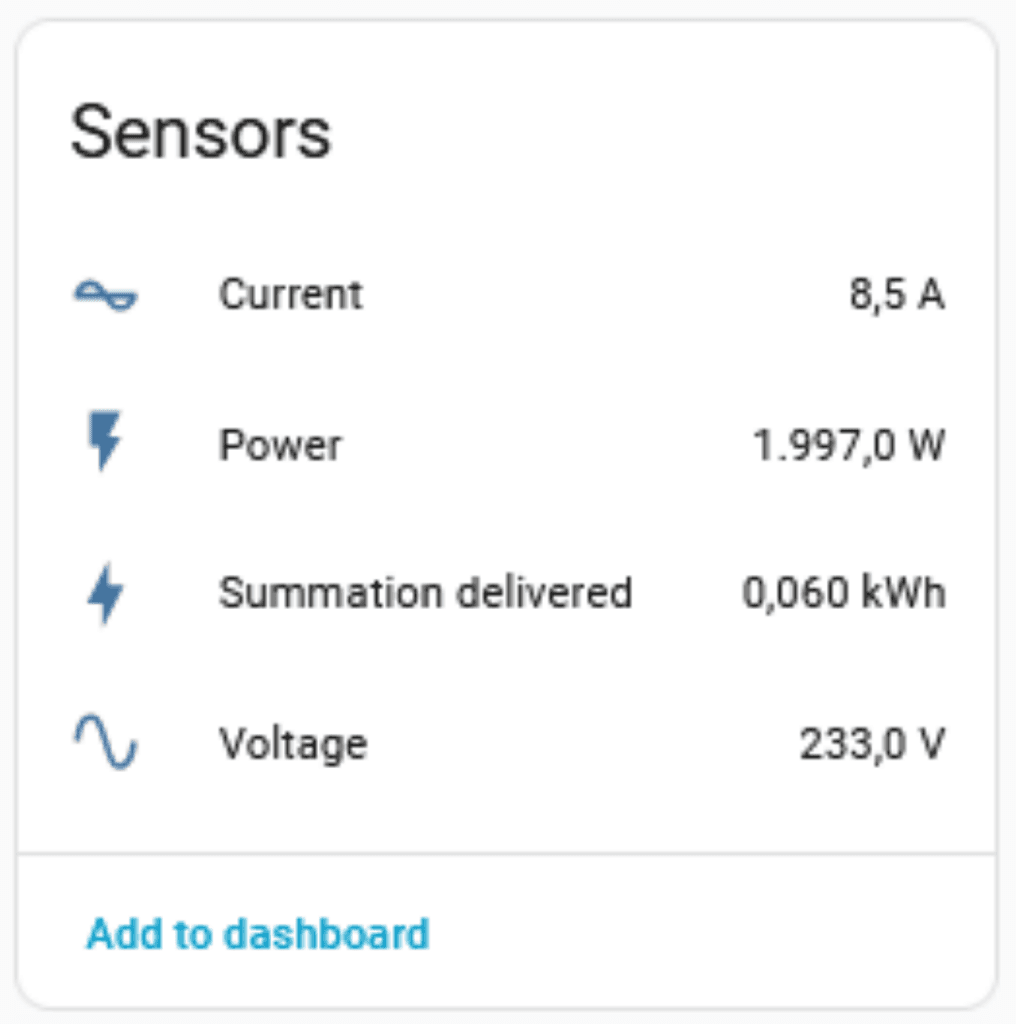
Safety warning aside, the plug performs exceptionally well in Home Assistant. It switches on and off without any noticeable network delay. I stress-tested it by running a 2000W hair dryer through it (don’t tell my wife), and it handled the load perfectly while accurately reporting the power draw and voltage.
The Presence Detector: Tuya 2-in-1 Mini PIR & Light Sensor
Price paid: €3.29
To complete our room automation, we need to know if someone is actually inside.
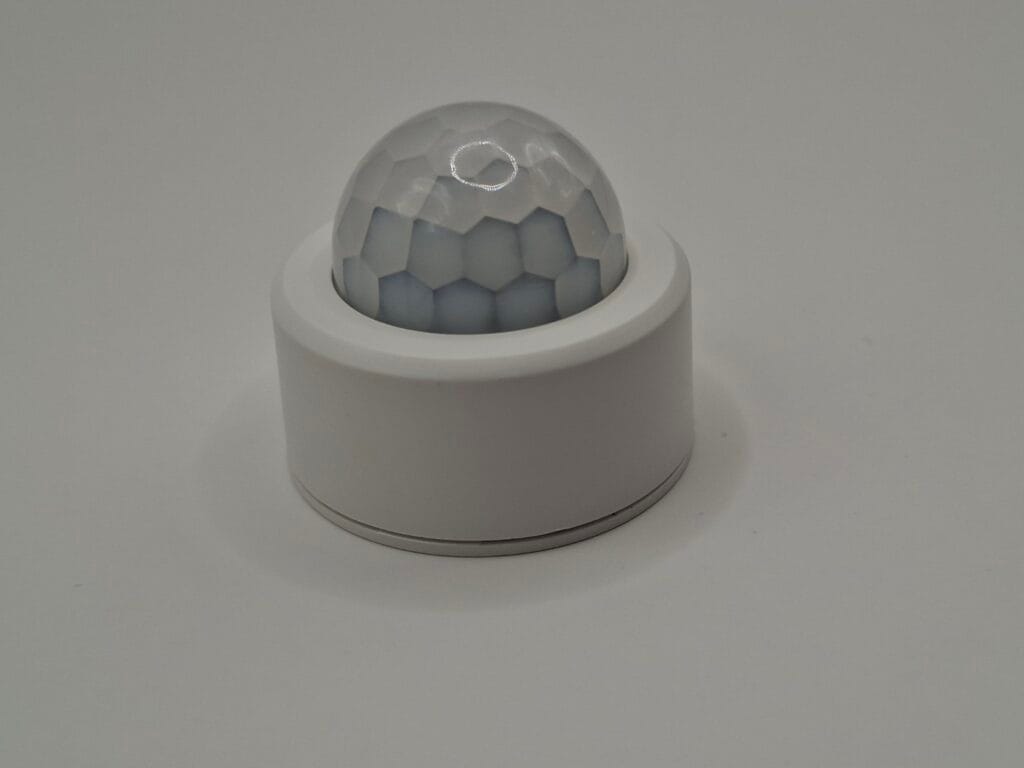
This PIR (Passive Infrared) sensor comes in a reasonably sturdy little square box. The sensor itself is surprisingly tiny—just 28mm high with a 33mm diameter—making it very easy to place unobtrusively. It weighs just 15 grams, including the provided GutAlkali CR2450 battery.
A fantastic little detail: they include a custom tool made out of PCB material to twist open the battery door. I normally use a coin for this, so having a dedicated tool included is a genuinely nice touch.
Pairing was just as easy as the door sensor: click “Add Device” in ZHA, hold the reset pin for 10 seconds, and it pairs instantly.
It accurately reports both presence (motion) and the lux level (light intensity) in the room. This is highly useful, as you can tell Home Assistant to only turn on the smart plug if motion is detected AND the room is actually dark.
The Climate Monitor: EWelink Temperature & Humidity Sensor
Price paid: €1.73
We now know if the door is open, if someone is in the room, how bright it is, and how much power our smart plug is drawing. The final piece of our basic room setup is climate monitoring.
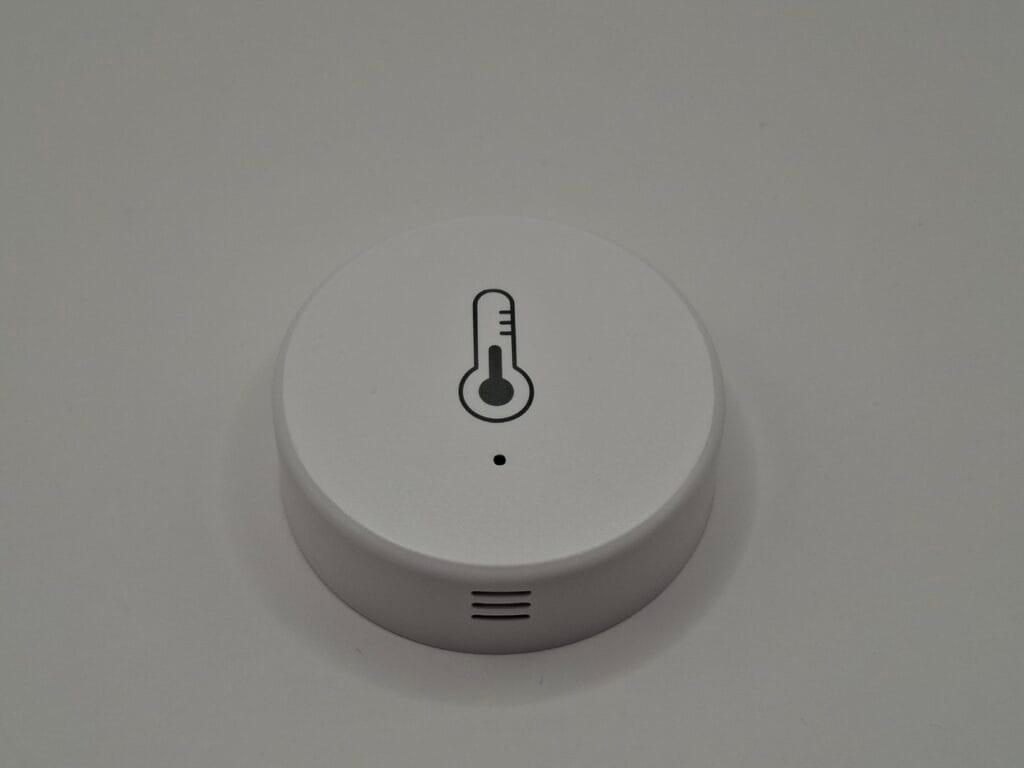
Inside the thin cardboard packaging is the sensor itself, measuring 13mm high and 40mm in diameter, featuring a simple thermometer icon on the front.
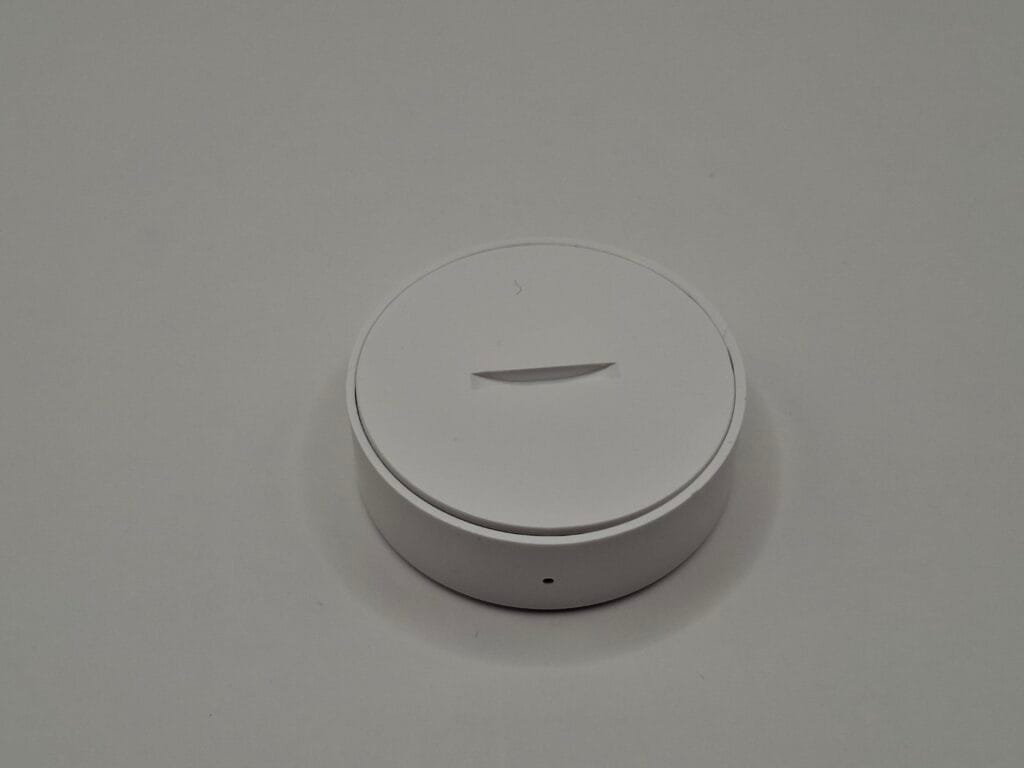
The build quality here is undeniably cheap. In fact, just pulling out the plastic battery isolation tab caused the bottom casing to warp slightly, and it refuses to snap back together perfectly flush. Pairing it was the exact same routine as the others (hold the pin for 10 seconds in ZHA).
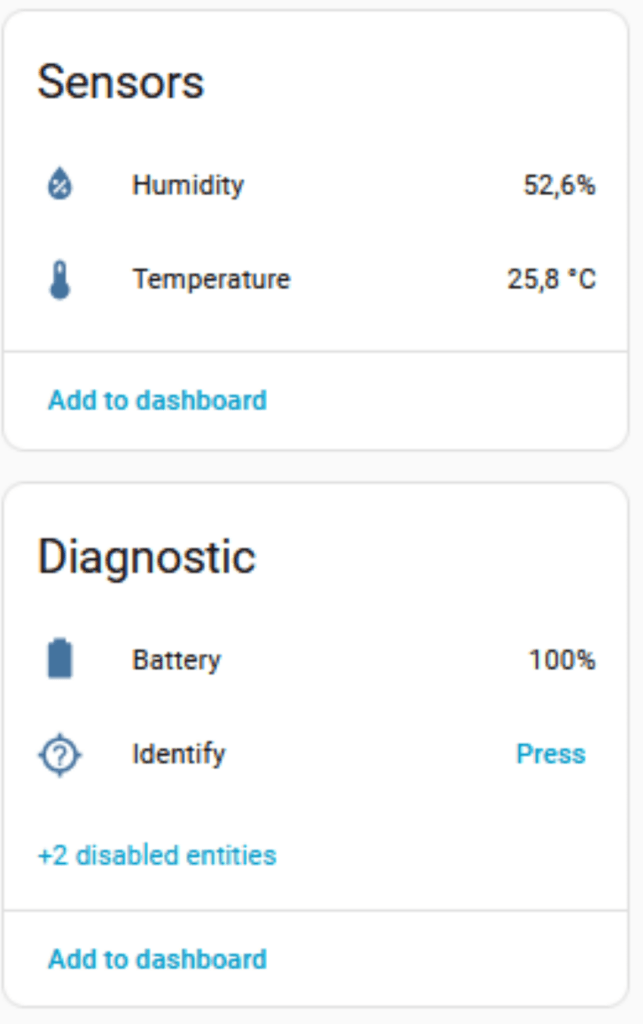
Initial Impressions: Out of all the devices tested in this article, this is the one I have the least confidence in. Upon first boot, the temperature reading was roughly 5 degrees (Celsius) too high. To be fair, this could be because I was holding it in my warm hands during the pairing process. However, the refresh rate seems incredibly slow, taking a long time to reflect the actual room temperature. It feels a bit like e-waste, but I will let it sit for a few days to see if the readings stabilize.
Final Verdict: The Sub-€30 budget Zigbee hub combination
We set out to build a fully local, cloud-free smart room. Excluding the one-time €15.09 purchase of our sturdy Sonoff ZBDongle-E coordinator, we spent just €12.07 on our four sensors and the smart plug.
They all connected flawlessly to our €37 AVATTO HA 70 server using the built-in ZHA integration. We now have a robust local mesh network that responds instantly, without any reliance on the Tuya cloud or external apps.
What’s next? Now that we have the hardware in place and the data flowing into Home Assistant, it’s time to make the house actually smart. In Part 3 of this series, we will dive into Home Assistant Automations. I will show you exactly how to combine these cheap sensors to trigger alerts, turn on lights automatically when you enter the room, and shut them off when the room is empty.
Stay tuned!