🎧 Listen to the 60-Second Audio Recap:
The Privacy Problem Nobody Talks About
Every question you type into ChatGPT, every contract you paste in for a summary, every internal business query you run — all of it transits OpenAI’s servers. That data is logged, potentially used for training, and subject to their retention policies. For personal curiosity, that trade-off might be acceptable. For sensitive business documents, medical questions, or private research, it is a real problem.
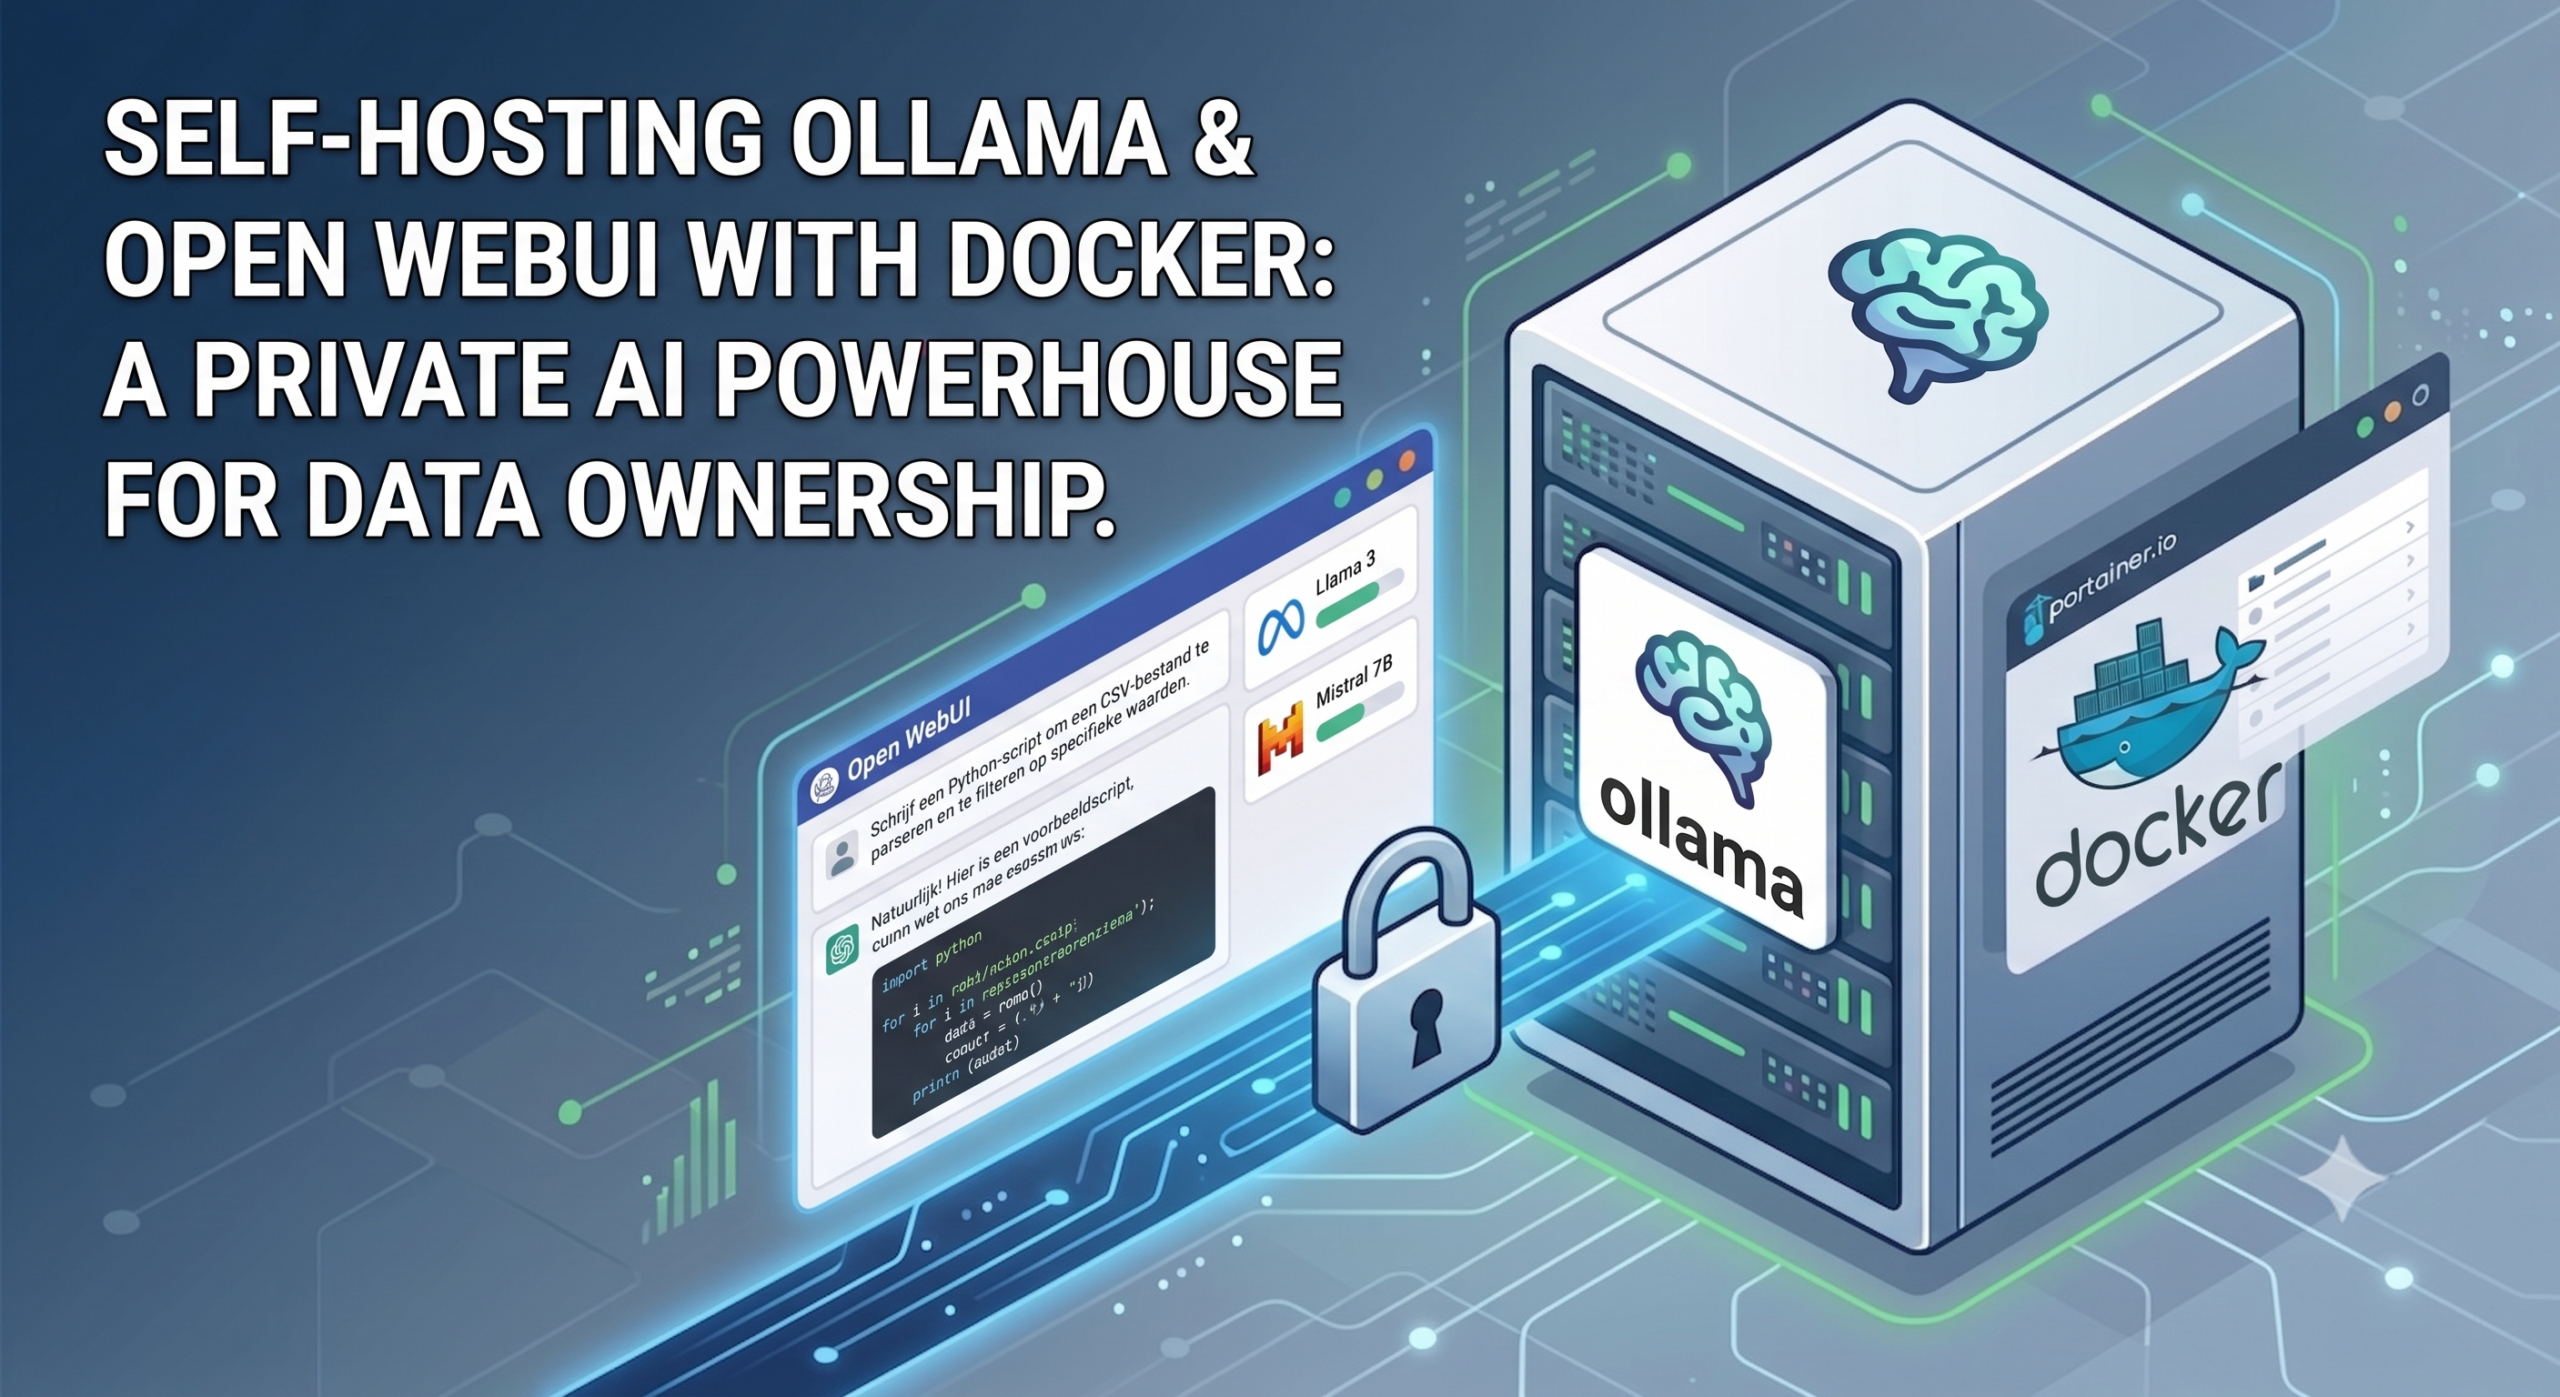
This guide solves that problem by building a self-hosted ChatGPT. We will deploy Ollama (the local model runner) and Open WebUI (a ChatGPT-style browser interface) on your own hardware using Docker. Once this stack is running, zero data leaves your network. Not a single prompt, not a single document.
What This Stack Does (And What It Doesn’t)
Ollama is the engine. It downloads large language models (LLMs) to your server and serves them via a local API. It handles the heavy lifting on the backend.
Open WebUI is the interface. It connects to Ollama and gives you a polished, multi-user chat UI that will feel familiar if you have used ChatGPT.
One scope boundary: this is a server-first, multi-user homelab setup. It is not a desktop app like LM Studio or GPT4All. We are deploying this as a persistent service on your home server or NAS. Read “The Ugly Truth” section before you get too excited about performance.
Who This Guide Is For
- Newbie Nora — You have Docker running and want to try local AI. No GPU required. You will be chatting within 15 minutes.
- Pro Paul — You want GPU-accelerated inference, multi-user access, and secure remote availability. The full stack is here.
Both paths start from the same prerequisite: Docker and Docker Compose with Portainer installed on your host. If you are not there yet, start with our guide: Build Your Privacy Machine Room: Docker + Portainer on Proxmox LXC.
Self-Hosted ChatGPT: Prerequisites and Minimal Hardware
Software Requirements
- ☑ Docker and Docker Compose installed on the host
- ☑ Portainer running (this guide uses Portainer stack deployment throughout)
- ☑ Pro Paul only: NVIDIA Container Toolkit installed on the Docker host — see the official NVIDIA installation guide
Hardware Requirements
| Use Case | RAM | GPU VRAM | Model Size |
|---|---|---|---|
| CPU-only starter | 8 GB | None | 3B (e.g., llama3.2:3b) |
| GPU-accelerated | 8 GB+ | 8 GB+ VRAM | 8B (e.g., llama3.1:8b) |
Disk Space Reality Check
⚠ WARNING: Plan your storage before you pull a single model.
An 8B model is approximately 5 GB on disk. Larger models can be tens of GB. Models accumulate fast. Dedicate a fast, spacious storage volume — in this guide we use
/mnt/snelle_data/App_Data/as the base path. Adjust this to match your own storage layout before deploying.
Method 1: The Quick Start (Newbie Nora Route, CPU-Only)
This section is fully self-contained. You do not need a GPU. You do not need to read Method 2. Follow these four steps and you will have a working local AI chat interface running on your server.
Step 1: Deploy the Stack in Portainer (CPU Version)
Open Portainer, navigate to Stacks, click Add Stack, give it a name like local-ai, and paste the following compose definition into the web editor. Click Deploy the stack.
services:
  ollama:
    image: ollama/ollama:latest
    container_name: ollama
    restart: unless-stopped
    volumes:
      - /mnt/snelle_data/App_Data/ollama:/root/.ollama

  open-webui:
    image: ghcr.io/open-webui/open-webui:main
    container_name: open-webui
    restart: unless-stopped
    depends_on:
      - ollama
    environment:
      - OLLAMA_BASE_URL=http://ollama:11434
    volumes:
      - /mnt/snelle_data/App_Data/open-webui:/app/backend/data
    ports:
      - "3000:8080"
ℹ INFO: Why does
http://ollama:11434work?Because both containers are deployed in the same Portainer stack, Docker automatically places them on the same internal network. Container names resolve as hostnames within that network. This is why
open-webuican reachollamaby name — no IP addresses needed, no extra network configuration required.
Step 2: Create Your Admin Account (Do This First)
Once both containers are running, open your browser and navigate to http://<your-server-ip>:3000. You will see the Open WebUI registration screen.
⚠ WARNING: Register immediately.
The first user to register on a fresh Open WebUI instance is automatically granted administrator privileges. If you are on a shared network and someone else registers before you, they become the admin. Open the page and create your account before doing anything else.
Fill in your name, email, and a strong password. You are now the admin of your private AI instance.
Step 3: Pull Your First Model
The interface is running, but there are no models yet. For CPU-only use, start with llama3.2:3b. It is small enough to run at a usable speed on CPU while still being capable for everyday tasks.
You have two options to pull it:
Option A — Via the UI: Go to your profile icon in the top-right corner, then Admin Panel > Settings > Models. Type llama3.2:3b in the pull field and confirm.
Option B — Via the terminal:
docker exec -it ollama ollama pull llama3.2:3b
The download will take a few minutes depending on your connection.
Step 4: Start Chatting
Return to the main Open WebUI screen. Select llama3.2:3b from the model dropdown at the top of the chat window. Type a prompt and press Enter.
On CPU, expect responses to take anywhere from 10 to 60 seconds depending on your hardware and the length of the response. This is normal. The model is running entirely on your processor. The first response is the slowest — subsequent tokens stream in progressively once generation starts.
Method 2: The Pro Setup (Pro Paul Route, GPU-Accelerated and Secure Access)
This section builds on the same foundation as Method 1. If you already deployed the CPU stack, you will update it. If you are starting fresh, the full compose is provided below. The key difference is a single deploy block that grants the Ollama container access to your NVIDIA GPU.
Step 1: Verify the NVIDIA Container Toolkit on the Host
The NVIDIA Container Toolkit must be installed directly on the Docker host machine before any compose configuration will work. Run both commands on your host to confirm:
nvidia-smi
docker run --rm --gpus all nvidia/cuda:12.0-base nvidia-smi
The first command verifies your host-level NVIDIA driver. The second verifies that Docker can pass GPU access into a container. Both must return valid output showing your GPU model and driver version. If either command fails, install the NVIDIA Container Toolkit before proceeding.
Step 2: Deploy the Full GPU-Enabled Stack
This compose is identical to the CPU version with one addition: the deploy block under the ollama service. This block tells Docker to reserve all available NVIDIA GPUs for that container. To revert to CPU-only at any point, remove that block and redeploy.
services:
  ollama:
    image: ollama/ollama:latest
    container_name: ollama
    restart: unless-stopped
    volumes:
      - /mnt/snelle_data/App_Data/ollama:/root/.ollama
    # GPU (NVIDIA) - remove this section for CPU-only:
    deploy:
      resources:
        reservations:
          devices:
            - driver: nvidia
              count: all
              capabilities: [gpu]

  open-webui:
    image: ghcr.io/open-webui/open-webui:main
    container_name: open-webui
    restart: unless-stopped
    depends_on:
      - ollama
    environment:
      - OLLAMA_BASE_URL=http://ollama:11434
    volumes:
      - /mnt/snelle_data/App_Data/open-webui:/app/backend/data
    ports:
      - "3000:8080"
Deploy or update the stack in Portainer. The Ollama container will restart with GPU access enabled.
Step 3: Pull a Larger, More Capable Model
With GPU acceleration active, 8B parameter models run at usable speeds. Pull the 8B model:
docker exec -it ollama ollama pull llama3.1:8b
This download is approximately 5 GB. Once complete, select it in Open WebUI and compare the speed against CPU inference.
Step 4: Secure Remote Access via Cloudflare Tunnel
If you want to access your local AI from outside your home network, do not simply open port 3000 to the internet. An AI instance with access to your private documents is a high-value target.
The correct approach is a Cloudflare Tunnel combined with a Cloudflare Access authentication policy. This gives you:
- No open inbound ports on your router
- Encrypted traffic through Cloudflare’s edge network
- An authentication gate (email OTP, Google login, etc.) before anyone reaches Open WebUI
- Zero cost for personal use
A full Cloudflare Tunnel walkthrough is outside the scope of this guide. The principle is straightforward: point the tunnel at http://localhost:3000 on your Docker host and protect the resulting public URL with an Access policy.
Pro Note: GPU Passthrough in Proxmox LXC or VM
⚠ ADVANCED WARNING: This is the hardest part of the entire setup.
If you are running Docker inside a Proxmox LXC container or VM, passing an NVIDIA GPU through to that environment requires host-level NVIDIA drivers on the Proxmox node itself, plus correct device mappings in the LXC configuration file. This is the single most common failure point in homelab AI setups. If you get stuck, a practical workaround is to run Ollama directly on the Proxmox host (not inside an LXC) while keeping Open WebUI in a container. It is not elegant, but it works.
For a GPU passthrough walkthrough, see our Jellyfin on Proxmox with GPU Passthrough guide for reference on the general approach.
Configuration and Validation: How to Test Everything Works
The Four-Point Validation Checklist
Run through all four checks after deployment. Do not skip the privacy check — it is the whole point of this exercise.
1. Model Check — Confirm your model downloaded successfully and Ollama sees it:
docker exec -it ollama ollama list
Expected output: your model name, its size on disk, and the modification date. If the list is empty, the pull did not complete — run the pull command again.
2. Chat Check — Select your model in Open WebUI and send a test prompt. You should receive a response within a few seconds on GPU, or within 10 to 60 seconds on CPU. If the interface spins indefinitely, proceed to the troubleshooting section.
3. GPU Check — Run this command while an inference request is actively processing (send a long prompt and run the command immediately after):
docker exec ollama nvidia-smi
Expected output: VRAM usage climbing above baseline, GPU utilization percentage greater than zero. If you see 0% utilization or an error, the model is running on CPU. Check the troubleshooting section for the fix.
4. Privacy Check — Open your browser’s developer tools with F12, navigate to the Network tab, and start a chat conversation. Watch the network requests. You should see zero outbound requests to api.openai.com, api.anthropic.com, or any external AI endpoint. Every request should resolve to localhost or your local network IP. This confirms that inference is 100% local.
The Ugly Truth: Honest Expectations for Local AI
This Is Not GPT-4
A 3B or 8B model running on consumer hardware is measurably less capable than frontier cloud models. The gap is real and noticeable. Reasoning depth is shallower. Complex multi-step instructions are followed less reliably. Context length is more limited. If you expect a GPT-4 experience, you will be disappointed.
That said, local AI is genuinely useful for specific tasks: private document summarization, offline use without internet, sensitive business queries you would never send to a third-party API, code review on proprietary codebases, drafting emails and internal communications. At scale, the cost advantage over API-based solutions is also significant — your hardware runs for free after the initial investment.
The honest framing: local AI is about privacy and control, not about matching the best cloud models. Set that expectation correctly and you will find it genuinely useful.
Why Ollama and Open WebUI Instead of Jan, GPT4All, or LM Studio?
- Jan, GPT4All, LM Studio — Desktop-first applications designed for a single user on a single machine. Good for personal experimentation. Not designed for server deployment or multi-user access.
- Ollama + Open WebUI — Server-first architecture. Multi-user support with role-based access. Persistent service that runs 24/7. Exposes an OpenAI-compatible API endpoint, meaning other tools (Home Assistant, n8n, custom scripts) can use your local model as a drop-in replacement for the OpenAI API.
For a homelab, the server-first architecture is the correct choice. It fits naturally alongside the rest of your self-hosted stack.
The Proxmox GPU Passthrough Caveat
⚠ HONEST WARNING: GPU passthrough is the single most common failure point.
If you are running this inside a Proxmox LXC or VM and your GPU is not being detected, do not assume the compose is wrong. The issue is almost always at the host level — missing drivers, incorrect device mappings in the LXC config, or the NVIDIA Container Toolkit not installed in the right place. The fastest path to a working setup is to run Ollama directly on the Proxmox host as a workaround while you troubleshoot the passthrough configuration.
Troubleshooting Common Errors
Error: “No Models Found” or Open WebUI Cannot Connect to Ollama
Symptom: Open WebUI displays a “No models found” message, a connection error banner, or the model dropdown is empty even after pulling a model.
Root Cause: The OLLAMA_BASE_URL environment variable is misconfigured, or the two containers are on different Docker networks.
Fix: Verify the environment variable in your compose is set to exactly http://ollama:11434. The hostname must match the container_name of the Ollama service precisely — including case. Both services must be deployed in the same Portainer stack to share a network automatically.
To inspect the network and confirm both containers are present:
docker network inspect <stack_network_name>
Replace <stack_network_name> with the network name Portainer created for your stack (typically stackname_default). Both ollama and open-webui must appear in the containers list.
Error: Responses Are Extremely Slow or GPU Is Not Being Used
Symptom: Inference takes several minutes per response. Running nvidia-smi inside the container shows 0% GPU utilization.
Root Cause: Either the NVIDIA Container Toolkit is not installed on the host, or the deploy.resources.reservations.devices block is missing from the Ollama service in your compose file.
Fix Steps:
- Verify the toolkit is working:
docker run --rm --gpus all nvidia/cuda:12.0-base nvidia-smi. If this fails, install the toolkit on the host first. - Confirm the
deployblock exists in your compose under theollamaservice. - Redeploy the stack in Portainer after making changes. A simple restart is not sufficient — the container must be recreated.
Error: Model Fails to Load or Out of Memory
Symptom: The model pull completes successfully, but when you send a prompt, inference crashes, never starts, or the container logs show out-of-memory (OOM) errors.
Root Cause: The model’s parameter count exceeds your available RAM or VRAM.
Fix: Drop to a smaller model. The 3B model is the safe starting point for constrained hardware:
docker exec -it ollama ollama pull llama3.2:3b
| Model | Minimum VRAM | Notes |
|---|---|---|
| llama3.2:3b | CPU / 4 GB VRAM | Safe starter for any hardware |
| llama3.1:8b | 8 GB VRAM | Good balance of speed and capability |
Conclusion and Next Steps
What You Have Now
You have a fully local, private AI assistant. No subscription. No API keys. No data leaving your network. Here is what you have confirmed:
- ☑ Ollama and Open WebUI running together in Docker via a single Portainer stack
- ☑ GPU acceleration active (or deliberate CPU-only for small models)
- ☑ At least one model downloaded and tested in the chat interface
- ☑ Verified 100% local inference — zero prompts leaving your network
This stack fits naturally alongside the rest of your self-hosted infrastructure. If you are building a broader privacy-first homelab, our guide on Paperless-ngx on Portainer is a logical next step — combining local AI with a local document management system is a practical pairing.
Immediate Next Step: RAG (Chat With Your Own Documents)
Open WebUI has built-in support for Retrieval-Augmented Generation (RAG). Enable document uploads in Admin Panel > Settings > Documents. Once enabled, you can upload PDFs, text files, and internal documentation directly into a chat session. The model reads and reasons over your files entirely locally. Summarize contracts. Query internal wikis. Analyze private reports. None of that content leaves your server.
Advanced Next Step: Local AI Voice Assistant in Home Assistant
Once Ollama is running, you can connect it to Home Assistant’s Assist pipeline as the language model backend. The result is a fully private, offline-capable voice assistant for your smart home — no cloud dependency, no subscription, no data sent to Amazon or Google. Your local Ollama instance becomes the language backend for your home automation. We will cover this integration in a dedicated guide coming soon.